How to Integrate Shopify with Framer Using Framer Commerce (Full Guide)

Selling products on a beautifully designed Framer site sounds like a dream, right? The good news is it's actually pretty straightforward once you know the steps. In this guide, you'll learn how to connect your Shopify store to Framer using the Framer Commerce plugin, so you can import your products and start building a custom storefront without touching any code.
The whole process takes around 10 minutes, and by the end of it you'll have your Shopify products sitting inside your Framer CMS, ready to design around.
What You'll Need Before Starting
A few things need to be in place before we dive in:
• A Shopify store with products already added. This is important because you can't create products from within Framer. They have to exist in Shopify first.
• A Framer account (free or premium).
• The Framer Commerce plugin. There are other options out there like Frameship, which is also solid, but for this guide we'll be using Framer Commerce since it won the Framer Best Plugin Award and comes with 40+ Shopify components.
Quick tip: if you don't have products in your Shopify store yet and just want to follow along, you can use an app called Zendrop to quickly import dropshipping products from AliExpress. That way you'll have some test data to work with.
Step 1: Add a New Store in Framer Commerce
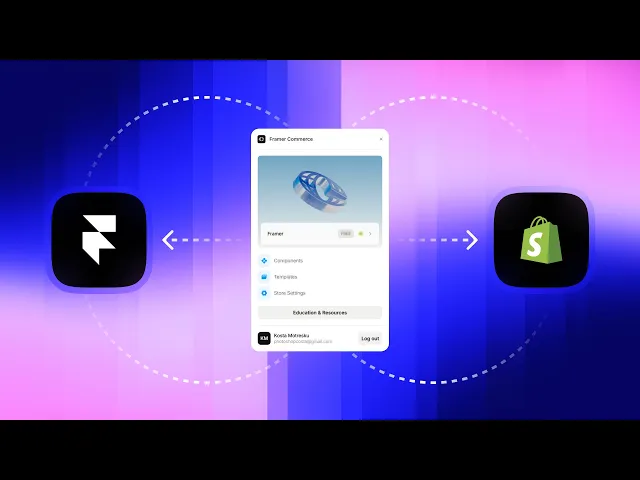
Head over to the Framer Commerce plugin and click the button to add a new store. They do offer a pre-made demo store if you want to explore first, but we're going to set things up from scratch.
Click "Add Store" and you'll be asked for three things:
• Your store name (can be anything, like "My Store" or your brand name)
• Your Shopify URL
• Your Shopify Storefront API access token
For now, just fill in the store name. We'll grab the other two from Shopify in the next steps.

Step 2: Create a Storefront API Token in Shopify
This is the part that trips people up, but it's actually not that complicated.
Go to your Shopify admin panel and click on the search bar. Type in "app development" and open it. From there, click "Create an app" and give it a name ("Framer" works fine).
Once the app is created, go to Configuration and then click Configure under the Storefront API integration section.
Now here's the part you don't want to skip. Make sure you check these permissions:
• The first two checkboxes at the top of the list
• The first two checkboxes under Products
If you don't enable at least those four, the integration won't work. You can also check additional ones if needed, for example the blogs permission if you want to pull blog content too. But those four are the minimum.
Click Save, then click Install App.
You'll now see your Storefront API access token. Copy it and keep it safe. Don't share this with anyone since it gives access to your store's data.

Step 3: Connect Your Shopify URL
Now you need your Shopify store URL. Go back to your Shopify admin, click the store icon, then go to Online Store and click "View your store".
Copy the URL from the address bar, but here's an important detail: only copy the domain part (the .myshopify.com part). If you copy the full URL with the path, Framer Commerce won't accept it. Just the clean domain.

Step 4: Finish the Connection
Go back to Framer Commerce and paste both your Storefront API token and your Shopify URL into the fields from Step 1.
Click "Create Store" and that's it. You now have a connected Shopify store inside Framer Commerce.
Step 5: Import Your Products into Framer CMS
Now for the satisfying part. Open your Framer project, go to the CMS section, and click Import.
Select Framer Commerce as the source, then choose the store you just connected and click Connect.
Hit "Import Products" and watch your Shopify products flow into your Framer CMS. Product names, prices, images, variants, all of it gets pulled in automatically.
And just like that, you've got a fully synced product catalog inside Framer.
What Can You Do From Here?
With your products now in the Framer CMS, you can:
• Design custom product pages with full creative control
• Build product grids, featured sections, and collection pages
• Use Framer Commerce's 40+ built-in Shopify components (cart, checkout, variant selectors, stock indicators)
• Keep everything in sync. When you update products in Shopify, those changes reflect in Framer
The big win here is that you get Shopify's powerful e-commerce backend combined with Framer's design flexibility. No compromises on either side.
Quick Recap
Here's the full process at a glance:
1. Make sure your Shopify store has products (use Zendrop if you need test data).
2. In Framer Commerce, click "Add Store" and enter your store name.
3. In Shopify, go to App Development > Create App > Configuration > Storefront API. Enable the required permissions and install the app.
4. Copy the Storefront API access token.
5. Copy your Shopify domain (just the .myshopify.com part, not the full URL).
6. Paste both into Framer Commerce and create the store.
7. In Framer, go to CMS > Import > Framer Commerce > Import Products.
That's all there is to it. You now have a Framer site powered by Shopify, and you didn't write a single line of code to get there.


